Getting a backyard BBQ started is exciting until you spend 30 minutes trying to light stubborn charcoal. Knowing how to light charcoal briquettes for BBQ correctly makes all the difference between a perfect cookout and a frustrating experience. With the right technique, you can have glowing, ash-covered briquettes ready in under 20 minutes.
Why Charcoal Briquettes for BBQ Are a Popular Choice
Charcoal briquettes are favored by both home cooks and professional grill masters for good reason. They burn longer and more consistently than lump charcoal, making them ideal for slow cooks and large gatherings. Their uniform shape also makes heat management much easier.
Whether you are grilling chicken, ribs, or vegetables, briquettes deliver steady, even heat throughout the cooking session. This reliability is why they remain the go-to choice across Southeast Asia and beyond.
Tools You Need Before Lighting Charcoal Briquettes
Before you begin, gather the following items:
- Charcoal briquettes (food-grade, not industrial)
- Chimney starter (highly recommended)
- Long-reach lighter or fire starter cubes
- Heat-resistant gloves
- A grill with proper ventilation
Having the right tools on hand prevents common mistakes like uneven lighting or slow ignition. A chimney starter, in particular, makes the whole process faster and safer.
Step-by-Step Guide to Light Charcoal Briquettes for BBQ
Follow these steps for consistent, efficient results every time you fire up the grill.
Step 1: Prepare your chimney starter. Fill the top chamber with briquettes — typically 50 to 100 pieces depending on your grill size. Place two or three fire starter cubes underneath the chimney on the grill grate.
Step 2: Light the starter cubes. Use a long-reach lighter to ignite the cubes from the bottom. The fire will travel upward through the chimney, heating the briquettes from below. This process takes about 15 to 20 minutes.
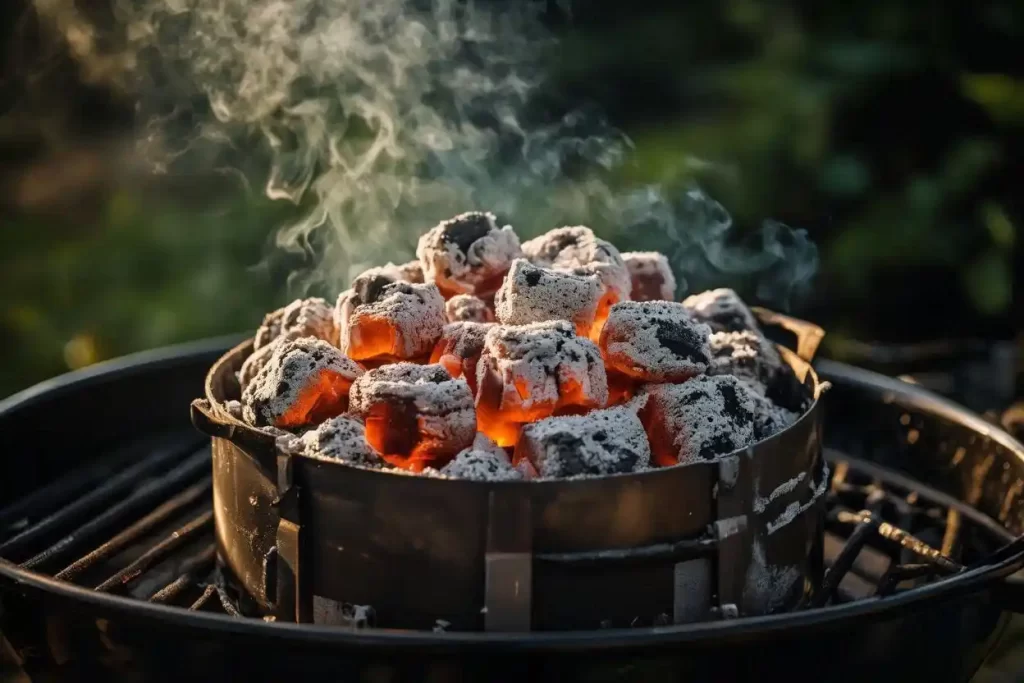
Step 3: Wait for the ash to form. You will know the briquettes are ready when a light gray ash covers at least 80% of their surface. At this point, the coals are at peak temperature and ready for cooking.
Step 4: Pour and spread the coals. Carefully tip the chimney starter and pour the lit briquettes into your grill. Use a long-handled tool to arrange them — either in a single layer for direct heat or piled to one side for indirect cooking.
If you want to dive deeper into preparation methods before lighting, understanding how to prepare charcoal briquettes properly will help you get consistent results every single session.
Common Mistakes When Lighting BBQ Charcoal Briquettes
Even experienced grillers sometimes make these avoidable errors:
- Using lighter fluid excessively can leave a chemical taste on food
- Cooking on black, not-yet-ashed briquettes produces uneven heat
- Blocking grill vents slows down the entire ignition process
- Overcrowding the chimney prevents briquettes from lighting evenly
Avoiding these mistakes helps you get the most out of every BBQ session.
Choosing Quality Briquettes for Better BBQ Results
High-quality briquettes made from pure coconut shell or hardwood ignite faster, produce less ash, and burn cleaner. Choosing a trusted supplier is essential for both home cooks and commercial users.
For reliable references on BBQ techniques and outdoor cooking tips, jacoid.com offers a range of informative blog content worth reading.
Conclusion
Learning how to light charcoal briquettes for BBQ improves every cookout experience. By using the right tools, following a clear process, and avoiding common mistakes, you can achieve perfect grilling conditions every time. Whether you cook at home or run a food business, mastering this skill pays off in both flavor and efficiency. Invest in quality briquettes, practice the chimney method, and your BBQ results will speak for themselves.


